
[Color Verification]
Overview
Set the color bar and color setting information to print when outputting a job.
- The Image Controller is required to use this function. For details, refer to What Is Color Centro?.
Specifications
Category | Print Workflow, Adjustment / Maintenance | ||
Location | Machine | - | |
Printer driver | - | ||
Application | Color Centro | ||
Required options | - | ||
Required items | - | ||
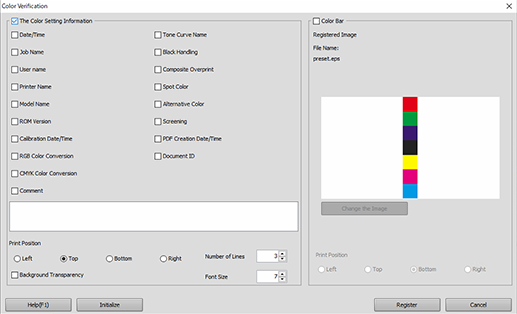
Setting items | [The Color Setting Information] | Select the color setting information to print when outputting a job. To select a setting item, select this check box. | |
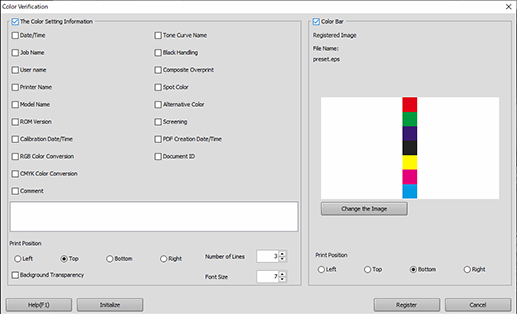
[Color Bar] | Sets the color bar to print when outputting a job. To select a setting item, select this check box. | ||
[Change the Image] | Changes the color bar to print. Click this option to display a screen. In this screen, select the eps file, and click [Open]. | ||
[Help] | Accesses the page to download the user's guide. For details, refer to [Help...]. | ||
[Initialize] | Resets the [Color Verification ...] setting to the default. | ||
[Register] | Registers the [Color Verification ...] setting. | ||
[Cancel] | Closes the screen without saving the setting. | ||
Remarks | - | ||
Reference | - | ||
Screen access | Color Centro - [Color Default Settings] - [File] - [Color Verification ...] | ||
Procedure

Select the check boxes of the items you want to print.
Select the printing position from [Left], [Top], [Bottom], or [Right].
You can also set the number of printing lines or the character size.


The image registered as the color bar is displayed. To change the image, click [Change the Image], and select the eps file.
Select the printing position from [Left], [Top], [Bottom], or [Right].

To reset the setting value to the default, click [Initialize].

 in the upper-right of a page, it turns into
  and is registered as a bookmark.