

[Execute Wizard of Exact Color]
Overview
Carry out calibration using Exact Color.
Clicking [Execute Wizard of Exact Color] follows the started wizard to perform creation and feedback of an adjustment table, enhancing the color reproduction accuracy.
- The Image Controller is required to use this function. For details, refer to What Is Color Centro?.
Specifications
Category | Print Workflow, Adjustment / Maintenance | ||
Location | Machine | - | |
Printer driver | - | ||
Application | Color Centro | ||
Required options | - | ||
Required items | Colorimeter | ||
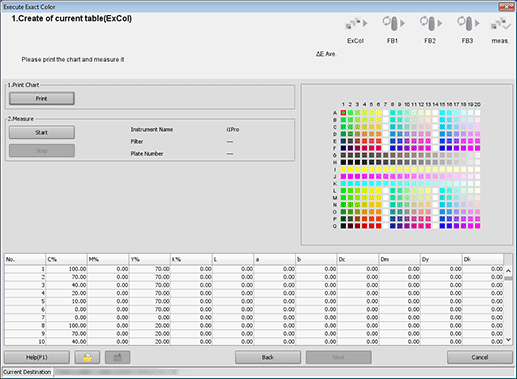
Setting items | [Print] | Print color charts. The printing date and time, the number of output copies, and the sequence number are printed in color charts. | |
[Start] | Starts color chart measurement. | ||
[Stop] | Stops color chart measurement. | ||
 | Saves measurement data in any local folder. | ||
 | Imports the saved measurement data. | ||
Remarks | - | ||
Reference | - | ||
Screen access | Color Centro - [Calibration] - [Execute Wizard of Exact Color] | ||
Procedure
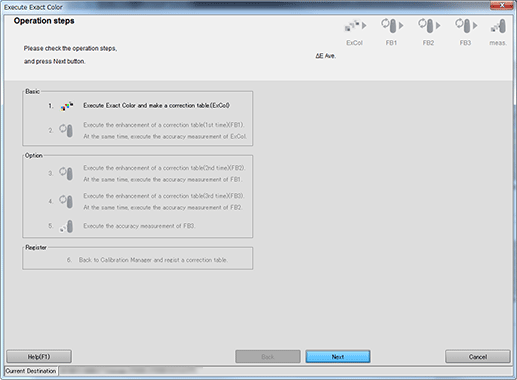
The [Execute Exact Color] wizard starts, and the [Operation steps] dialog box is displayed.
If [Execute Wizard of Exact Color] is not displayed on the [Calibration Manager] screen, click [Show Exact Color].
The [1.Create of current table(ExCol)] screen is displayed.
"FB" at top right of the screen refers to "Feedback", and [FB1]" " refers to the first feedback.

The [Print Chart] screen is displayed.

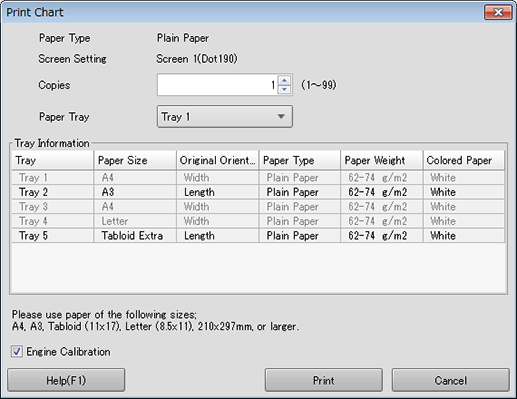
[Copies] can be specified with 1 to 99.
The setting contents are also displayed in the next setting.
To perform [Gamma Automatic Adjustment], select the [Engine Calibration] check box.

Color charts are printed. When printing is completed, the display returns to the [1.Create of current table(ExCol)] screen.


Measurement starts.
When measurement is completed, a measurement data list is displayed at the bottom of the [1.Create of current table(ExCol)] screen, and patches on the preview are displayed in color.
The operation method varies depending on the connected colorimeter. Follow the on-screen instructions to perform the operation.
If the measurement line is incorrect, a warning message is displayed. You can select whether to retry measuring using the correct line, or whether to proceed to the next line.
You cannot click [OK] until the acquirement of measurement data is completed.
Patches on the preview are displayed in gray before measuring, and in color after measuring.
Each patch value is displayed in the measurement data list.
If you click a color patch on the preview, the corresponding line is selected in the measurement data list. Also, if you select a line in the measurement data list, the corresponding color patch is selected on the preview.
To save measurement data in a local location, click " ".
".
To import the saved measurement data, click " ".
".
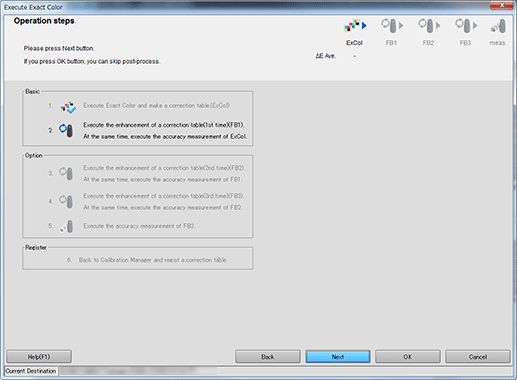
The [Operation steps] screen is displayed.
To end measuring, proceed to step 10.
To continue measuring, proceed to step 11.

The [Operation steps] screen closes, and the wizard exits. Measurement data is displayed in a list on the [Calibration Manager] screen.
Measurement data continues to be displayed until the [Calibration Manager] screen closes or [Initialize ...] is executed. For details about [Initialize ...], refer to [Initialize ...].
The Exact Color adjustment performed until that time and the [Accuracy Measurement] result are reflected on the [Calibration Manager] screen.
To register measurement data, proceed to step 12.
Clicking [Cancel] discards the measurement result and closes the [1.Create of current table(ExCol)] screen. Then, the display returns to the [Calibration Manager] screen.
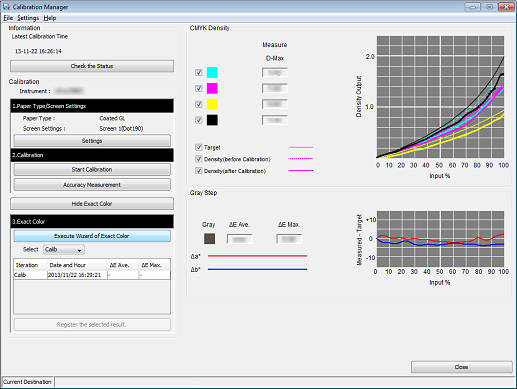

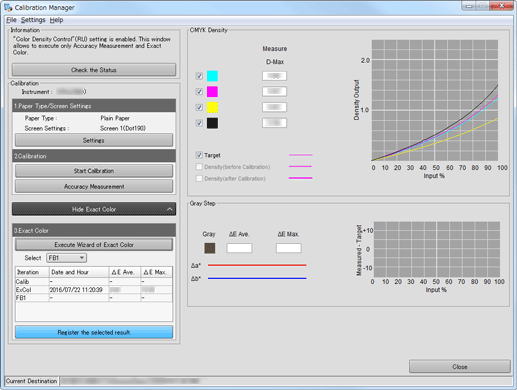
A confirmation dialog box is displayed.
You can register measurement data in the Image Controller to apply it to printing.

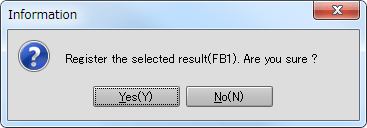
Measurement data is registered in Image Controller.
Measurement data is registered in the representative location of the group specified in [Calibration Group ...]. For details about [Calibration Group ...], refer to [Calibration Group].

- The accuracy of color reproducibility is improved by repeating chart printing and measuring.

 in the upper-right of a page, it turns into
  and is registered as a bookmark.