
Poster Printing
What Is Poster Printing?
Print data across multiple sheets of paper so that you can then paste them together to create large prints such as a poster.
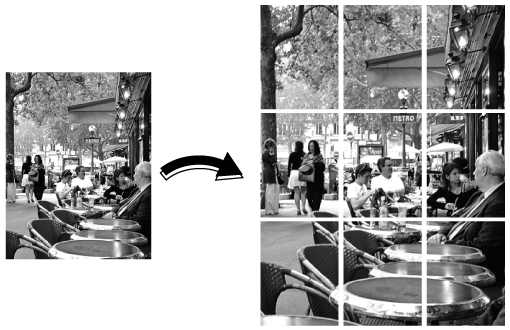
The following is recommended
- When you want to print data that exceeds the paper size.
- When you need to select a particular output method for the given task, such as printing part of the data or the center part.
- This function cannot be used if the job has been page edited.
Target Jobs
Does not depend on the file format.
Target Tools
Touch panel (machine store jobs) | Printer driver | AccurioPro Print Manager | Machine hot folder | AccurioPro Hot Folder |
|---|---|---|---|---|
- | - | . | . | . |
Procedure
- The actual screen displayed may differ depending on the application version or revision, and the environment you are using.
Access AccurioPro Print Manager.
For details about how to access AccurioPro Print Manager, refer to AccurioPro Print Manager.
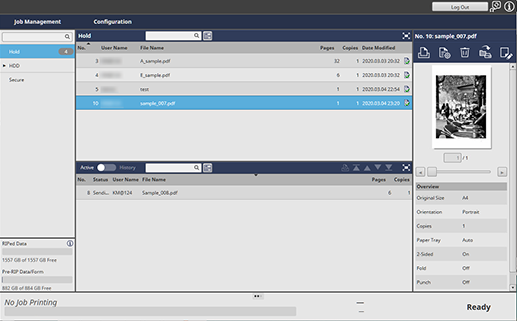
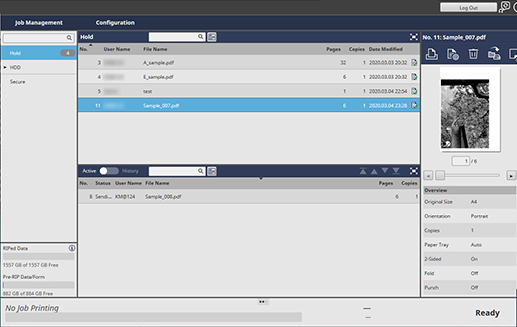
Select a job for poster printing from the job list.
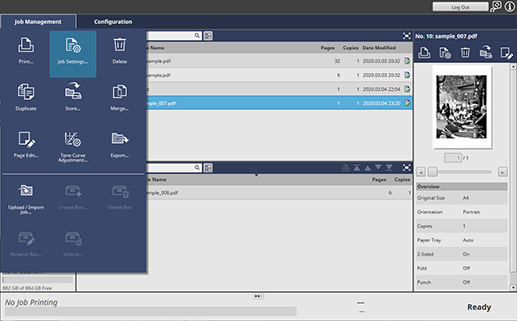
Click [Job Settings...] under [Job Management].
To select [Job Settings...], right-click on the job and select it from the menu.
You can also do this by selecting a job, and then clicking  .
.
You can also do it by double-clicking the job.
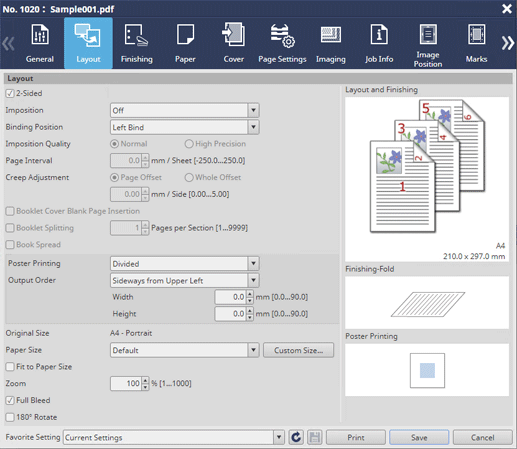
Select the [Layout] tab, and set [Poster Printing] to [Divided].
Select the amount of overlap and the output order.
For details about overlap amounts and differences in output images based on selections, refer to Output Images for Poster Printing or Overlap Amount Settings.
Configure the other items as necessary, and click [Save].
Check the output image using the preview function.
If there are no problems, click [Job Settings...] for [Job Management], open the settings window, and then click [Print].
Output Images for Poster Printing
The features and images for the output settings that can be configured in [Poster Printing] are as follows.
E.g. Original: A4 - Zoom Ratio: 200% - Paper Size: A4
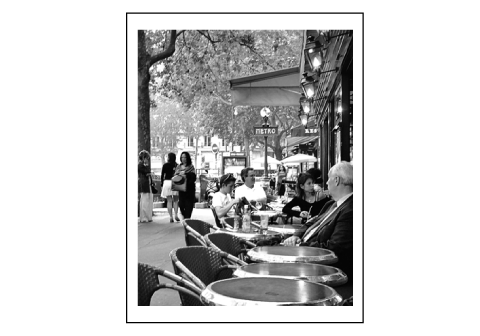
Item | Description | Output Image |
|---|---|---|
[Central] | Print only the center section of the image. Set if you have an image that you want to print in the center of the data. |  |
For example, if you have an A3-sized image with crop marks placed in the center of an SRA3 sized image, it is effective for outputting the A3-sized section within the crop marks. | 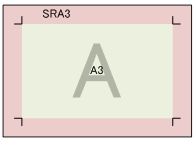 | |
[Partial] | Print only part of the image starting from the top left corner of the image. The parts of the image that exceed the area of the paper cannot be printed. As you can check by printing a single section, it helps to keep printing costs down. |  |
[Divided] | Print the image by dividing it into individual sections. The number of copies is determined by the original and paper size. You can also set the [Width] and [Height]. |  |
[Central Divided] | Divide the central section of the image into 2 and print. Set if you have an image that you want to print in the center of the data but that is larger than the paper size. You can also set the overlap amount of [Width]. | 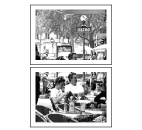 |
If you have an A3-sized image with crop marks placed in the center of an SRA3 sized image, it is effective for outputting the section within the crop marks in 2 e A4-sized sheets and then pasting together. | 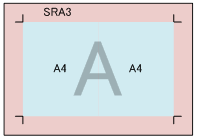 |
- When you have finished configuring the settings, it is recommended that you click [Save] and preview the image before printing.
- With [Poster Printing], the area that cannot be printed around the paper is retained, so the printing start position of the image is shifted. If [Divided] is selected with the example print data (a single vertical A4 page enlarged 200%), the printing start position for each paper shifts and does not fit on the 4 vertical A4 pages. Although 9 sheets of paper are necessary if you choose to print vertically on A4 paper, this feature automatically selects the orientation of the paper to print 6 sheets horizontally to reduce the number of sheets.
Overlap Amount Settings
Setting the amount of overlap sets how much of the image at the edge of paper overlaps when printing images across multiple sheets of paper. It is the area where the printed paper will be overlapped and pasted together.
Item | Overlap Amount | Output Image |
|---|---|---|
[Divided] | 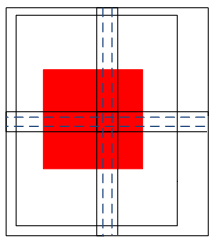 Set the [Width] and [Height] (0 mm to 90 mm/0" to 3.54"). | 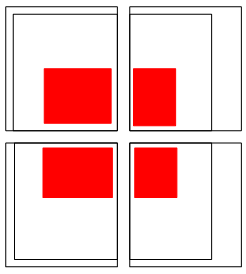 |
[Central Divided] | 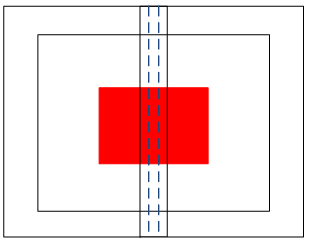 Set the [Width] (0 mm to 90 mm/0" to 3.54"). | 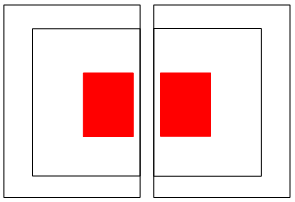 |


 in the upper-right of a page, it turns into
  and is registered as a bookmark.