
Workflow
Introduction
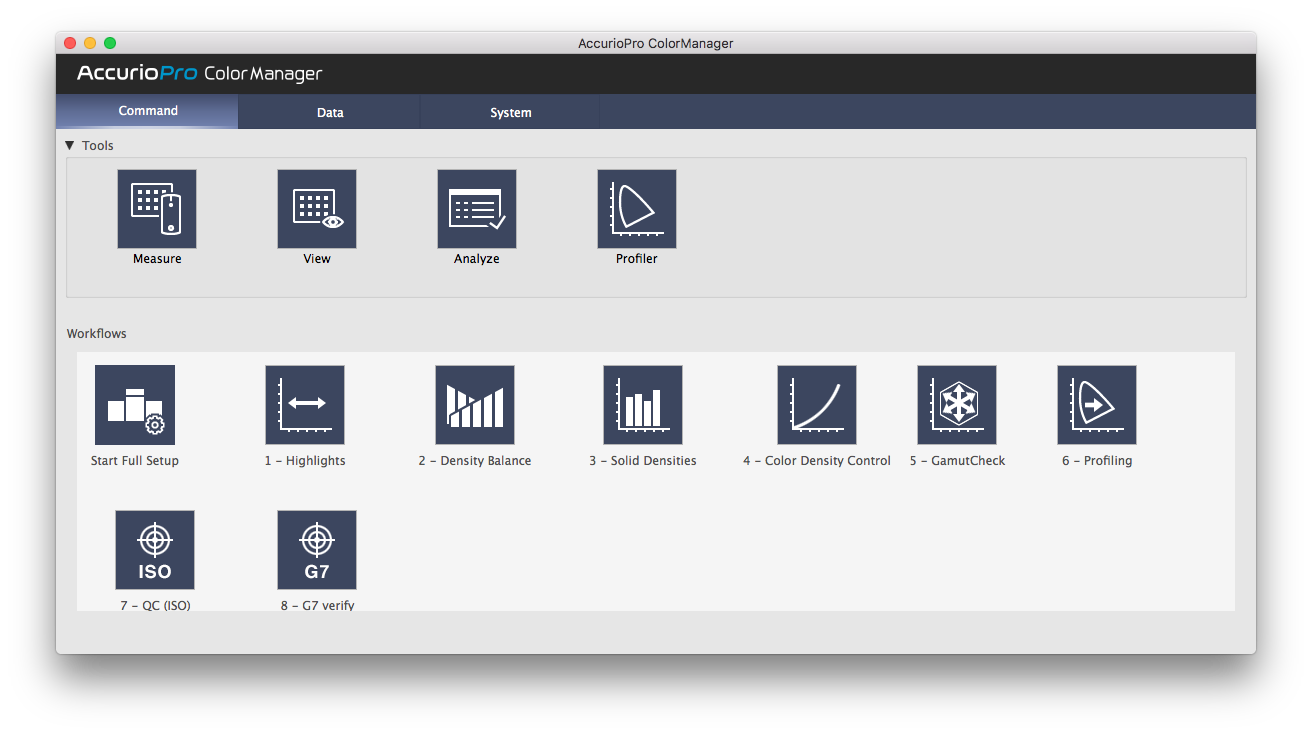
The workflows displayed in the main window may differ depending on the selected working folder. The installation of AccurioPro ColorManager includes at least the default maintenance working folder. The pre-installed workflows of this working folder will guide you through the installation of a Konica Minolta AccurioPress.

The explanations required for operation are displayed in the workflow windows themselves. Simply follow the instructions in the respective workflow.
A complete Konica Minolta AccurioPress setup includes the following workflows:
Setup of the machine hardware
1 - Highlights | Adjustment (= Gamma Offset Adjustmen |
2 - Density Balance | Uniformity Adjustment |
3 - Solid Densities | Solid Density Adjustment (= Maximum Density Adjustment) |
4 - Color Density Control | Hardware Linearization |
5 - Gamut Check | Checking the color gamut of the paper set up after the machine setup |
Setup of the DFE(Controller):
6 - Profiling | Creation of an ICC profile for the DFE (controller) |
7 - QC (ISO) | Check the overall result of the settings on Machine and DFE/Controller. |
8 - G7 Verify | Evaluation based on the G7 |
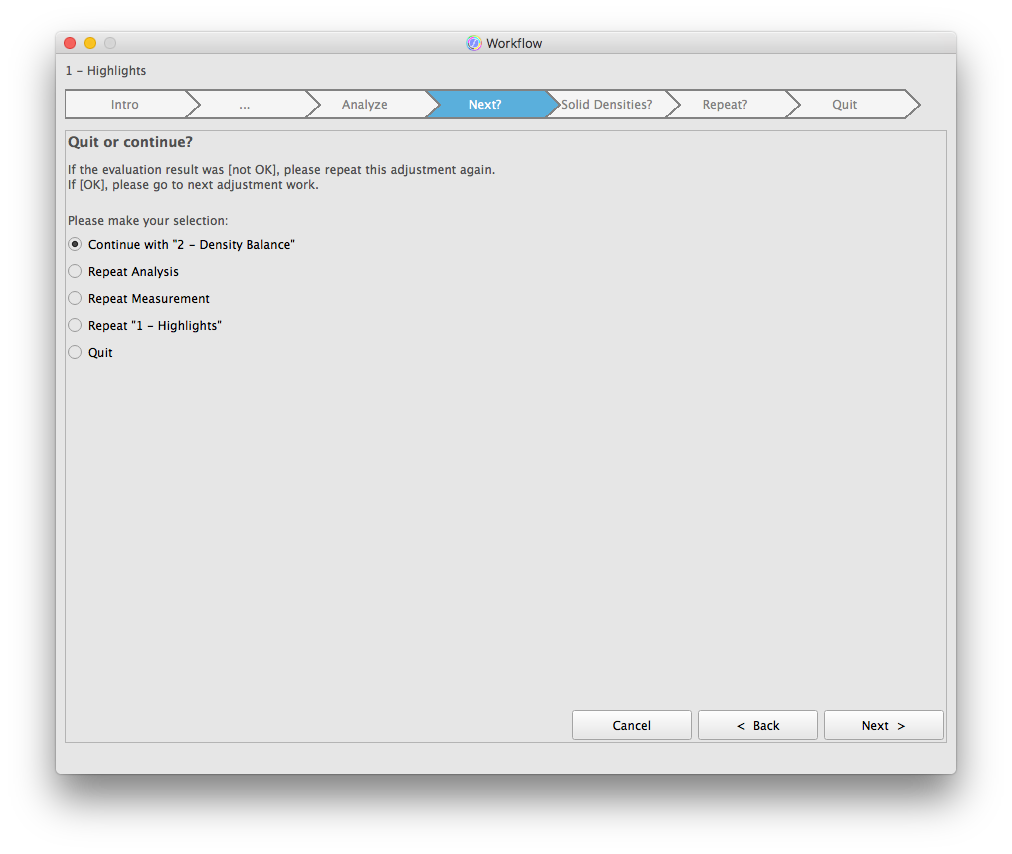
"Start Setup" provides a brief overview of the overall process and starts the first workflow. At the end of each workflow you will be asked if you want to start the next workflow. This will guide you step-by-step through the entire setup process.

If you only require a single workflow, you can also call it up directly. This also allows you to easily interrupt an full workflow and resume it later at the desired location instead of having to start from scratch.
Depending on which license package you have purchased, all workflows or only workflows 1-5 are available.
Workflows 1-5 | AccurioPro ColorManager “EngineTune” and “Basic” license allow to use these workflows. |
Workflows 6-8 | AccurioPro ColorManager “Basic” license allows to use these workflows, but “EngineTune” license doesn’t allow to use them. |
 in the upper-right of a page, it turns into
  and is registered as a bookmark.