
Tool: Analyze
Introduction

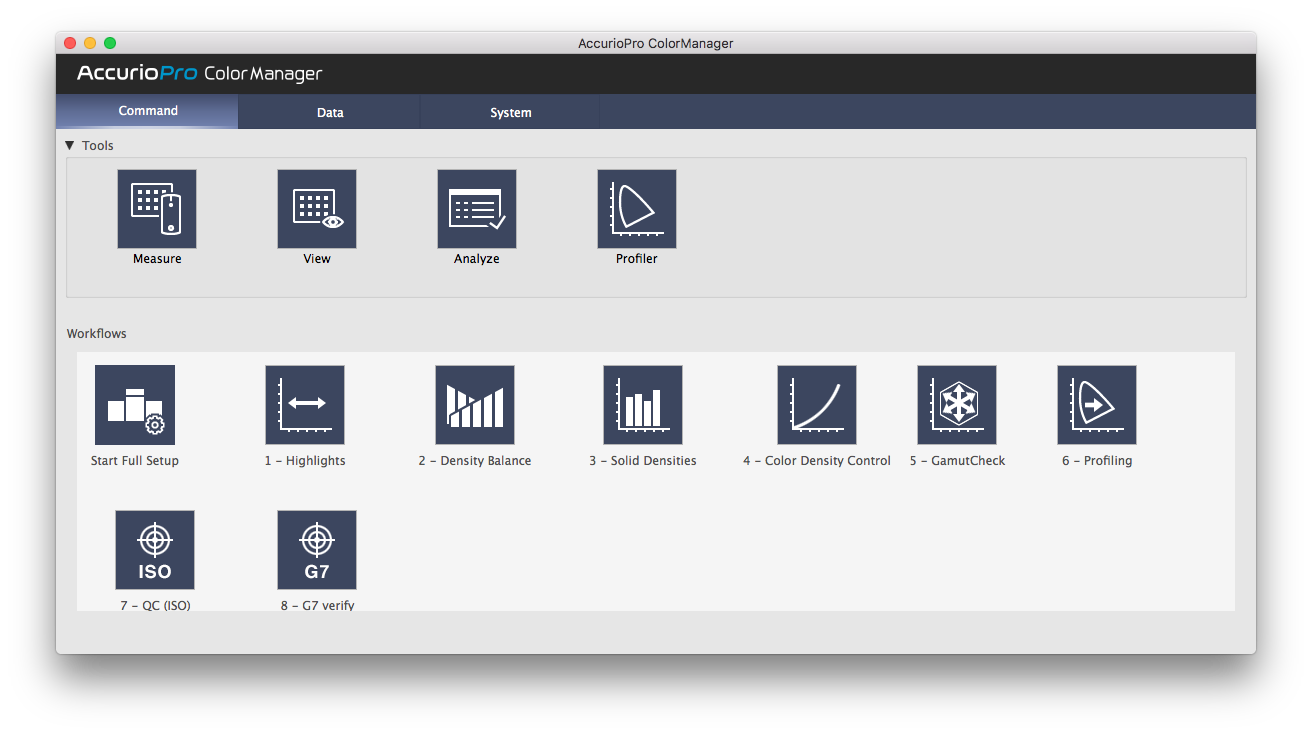
The "Analyze" tool calculates various evaluations of your measurement data. You will find pre-defined evaluation settings for the final quality assurance according to the usual printing standards (Validation Print, Contract Proof, etc.), as well as evaluation routines for the Konica Minolta work steps for setting up a Konica Minolta AccurioPress (Highlight adjustment, Maximum density adjustment, etc.).
As “Analyze” always requires measurement data, you will find the tool as an optional tab within the tools "View" and "Measure". With the “Analyze” button in the toolbar you can switch the “Analyze” tab on and off. In addition, there is also a direct call of Analyze from the main window. This opens a "View" window with the Analyze tab activated. If you want to measure afterwards, open "Measure" via the toolbar of "View".


Operation Example: Evaluation of a media wedge
- Open the "Measure" or "View" tool (see Tool: Measure - Measurement of Charts and Tool: View).
- In the "Data List" window, open the "QC\Fogra MediaWedge 3.0" measurement folder, perform a measurement or select the desired measurement file (.mdl).
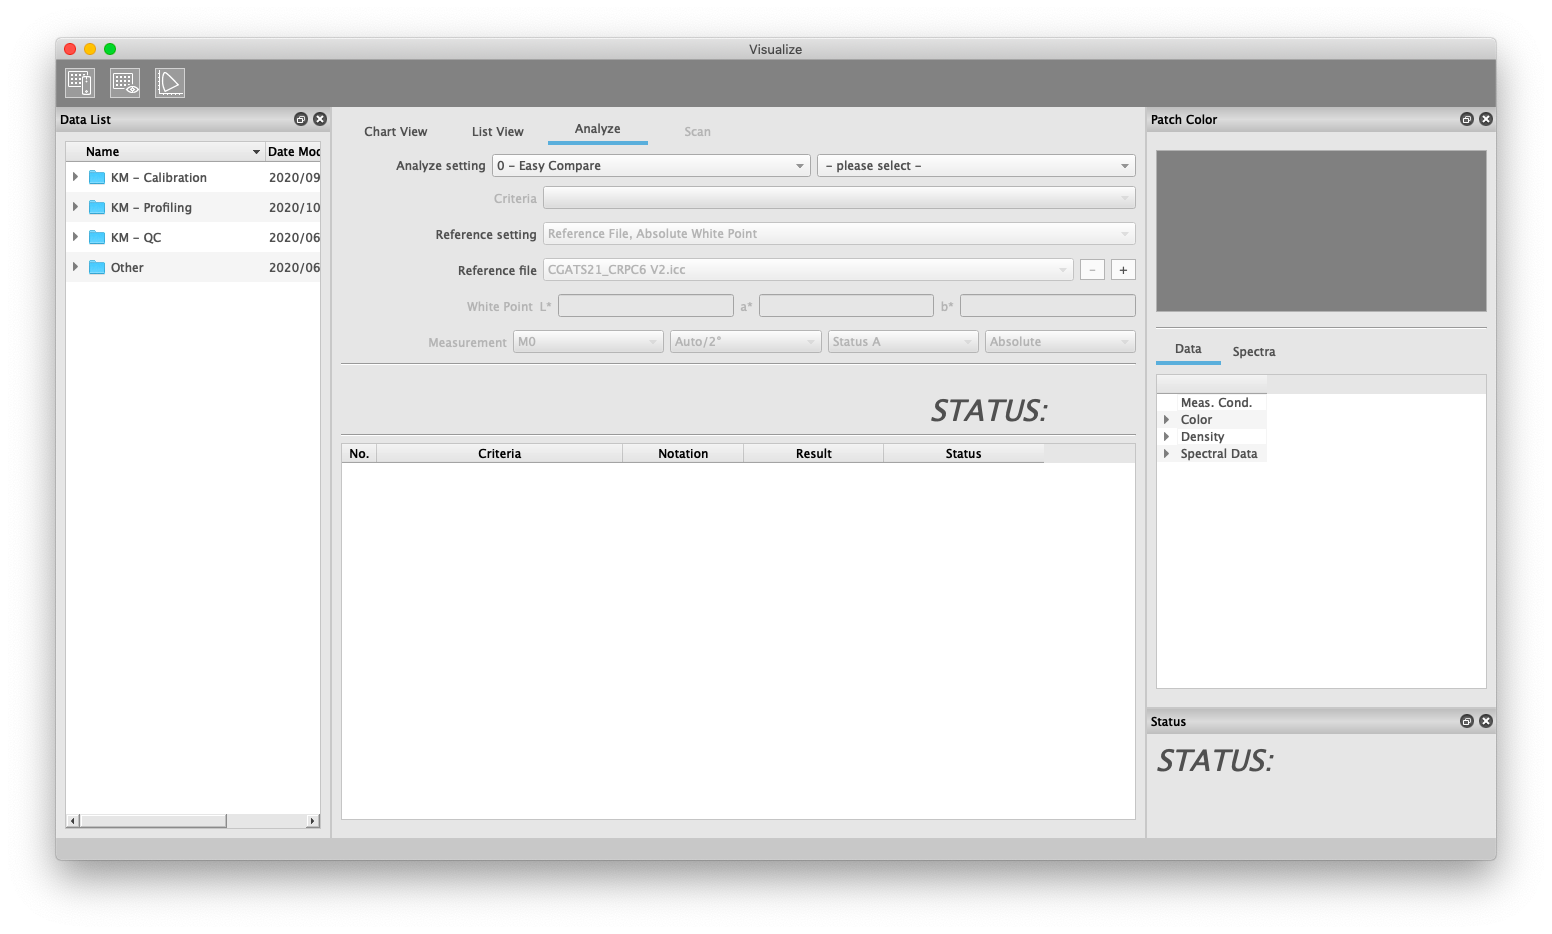
- Start the “Analyze” tool by clicking on the “Analyze” icon in the toolbar.
- Now select the desired evaluation parameters. You will find the evaluation system in the upper left corner. Select e.g. "A - Validation Print". A list of prepared Analyze Settings will then appear to the right. Select here e.g. "Validation Print - F51".
- You will then see the evaluation parameters stored in the setting. Criteria, reference treatment and measuring conditions are defined and are only displayed informatively. The reference, on the other hand, is freely selectable. If you want to use your own references, please save them in the corresponding folder ([active working folder]\System\Templates\Analyze\AnalyzeSettings\ReferenceFile\).
Further details on operation can be found in Tools.
 in the upper-right of a page, it turns into
  and is registered as a bookmark.