

[Register]
Overview
Register or edit a target setting.
When a target setting is selected, this changes to [Edit].
- The following setting is required to enable [Tracking].
- Set [User ID] and [Password] in [AccurioPro Cloud Eye Setting].
- The Image Controller is required to use this function. For details, refer to What Is [Controller]?.
- For details about how to set the user ID and password, refer to [AccurioPro Cloud Eye Setting].
Specifications
Category | Print Workflow | ||
Location | Machine | Touch panel | |
Printer driver | - | ||
Application | - | ||
Required options | Intelligent Quality Optimizer IQ-501 | ||
Required items | - | ||
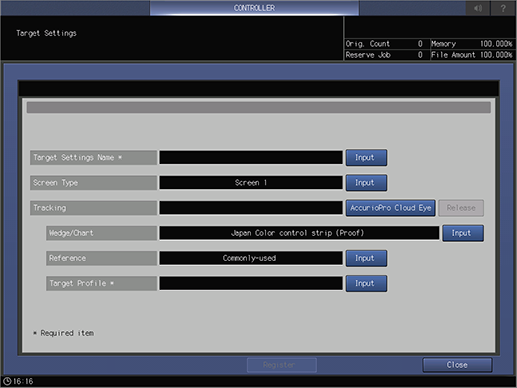
Setting items | [Target Settings Name] | ||
[Input] | Sets the target setting name. | ||
[Screen Type] | |||
[Input] | Selects the screen type. For details, refer to [Screen Type]. | ||
[Tracking] | |||
[AccurioPro Cloud Eye] | Allows you to acquire the tracking list in association with AccurioPro Cloud Eye on the cloud. | ||
[Release] | Displays a tracking list. | ||
[Wedge/Chart] | Selects a chart for color validation. | ||
[Reference] | Selects the tolerance for color validation. For details, refer to [Reference]. | ||
[Target Profile] | Selects a target profile. | ||
[Register] | Applies and registers the settings. | ||
Remarks | - | ||
Reference | - | ||
Screen access | Touch panel - [MACHINE] - [Controller] - [Color Management] - [Target Settings] - [Register] / [Edit] | ||
Procedure (Registering a Target Setting)

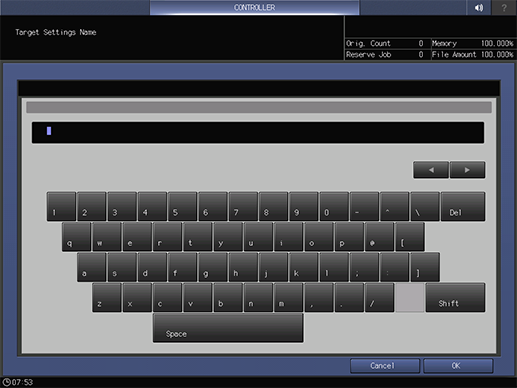
For details about how to enter characters, refer to Entering Text.

The setting screen is displayed.
For details about the setting procedure, refer to [Screen Type].
A tracking list is displayed.
A tracking with [In Use] displayed is not selectable.
To cancel the selected tracking, press [Release].
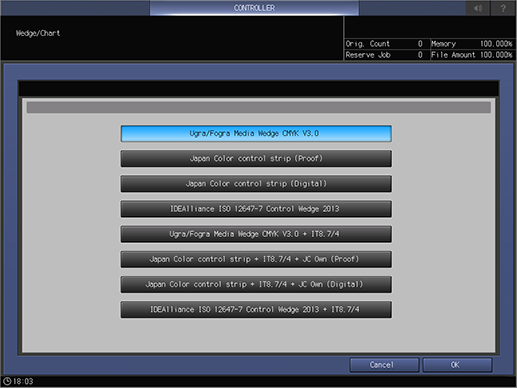
The setting screen is displayed.

In general use, select [Japan Color control strip].
The setting screen is displayed.
For details about the setting procedure, refer to [Reference].
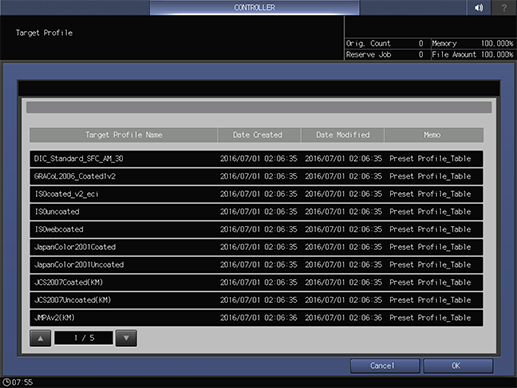
The setting screen is displayed.

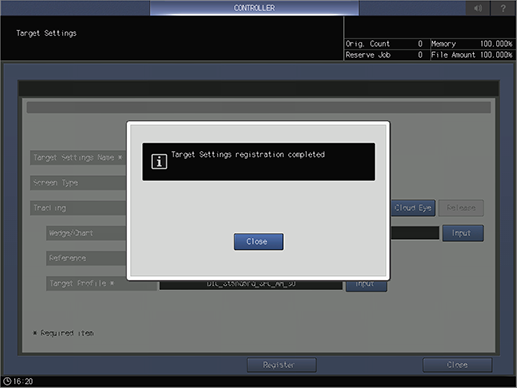
When registration is completed, the [Registration Complete] dialog box is displayed.

Procedure (Editing a Target Setting)
For details about the setting procedure, refer to Procedure (Registering a Target Setting).
For [Tracking], press [AccurioPro Cloud Eye].
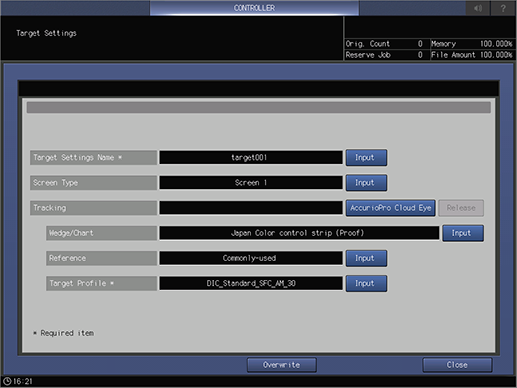
When registration is completed, the [Registration Complete] dialog box is displayed.


 in the upper-right of a page, it turns into
  and is registered as a bookmark.