
[Auto Duplex Adjustment]
Overview
Configure settings to perform Auto Duplex Adjustment using the actual image of a job.
Normally, adjustment is done using [Both Sides Adj.] of this system. However, the actual image has the greater coverage (printing percentage) than a test chart, so the paper stretch rate changes, which may cause a deviation between the front and back positions.
In such a case, use this function to re-adjust the front and back positions.
- If the front/back position adjustment function is enabled even when the front and back positions are adjusted by this function to print a job, the adjustment value will be updated. If this function is set, it is recommend to set [Concurrent Execution of BothSidesAdj.] and [Period. Both Sides Auto Adj.] to [OFF].
- Image Controller is required to use this function. For details, refer to What Is the PS Plug-in Driver?.
- The front/back position adjustment value is updated only for the paper tray output by this function.
- The adjustment value is applied to the next job after [Auto Duplex Adjustment] was completed.
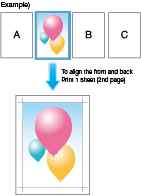
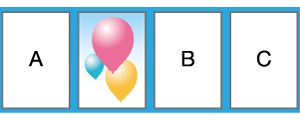
- Print crop marks on the actual image of a job, and adjust the front and back positions. If there are multiple pages, all of them are printed, so it is recommended to select only the target page.
- Adjustment is made based on the top page. If a job contains an actual image of which the coverage is significantly different from others, misalignment may occur between the front and back positions.
- The [Auto Duplex Adjustment] chart is ejected to the Secondary (sub) tray of the finisher. The Secondary (sub) tray to which a chart is output is automatically selected in the order of proximity to the machine so that it can be output. If there is no Secondary (sub) tray that can be output, a chart is output according to the output destination setting of the job.
- For details about [Concurrent Execution of BothSidesAdj.], refer to [Concurrent Execution of BothSidesAdj.].
- For details about [Period. Both Sides Auto Adj.], refer to [Period. Both Sides Auto Adj.].
Specifications
Category | Print Workflow | |||
Location | Machine | - | ||
Printer driver | PS Plug-in Driver | |||
Application | - | |||
Required options | Intelligent Quality Optimizer IQ-501 | |||
Required items | - | |||
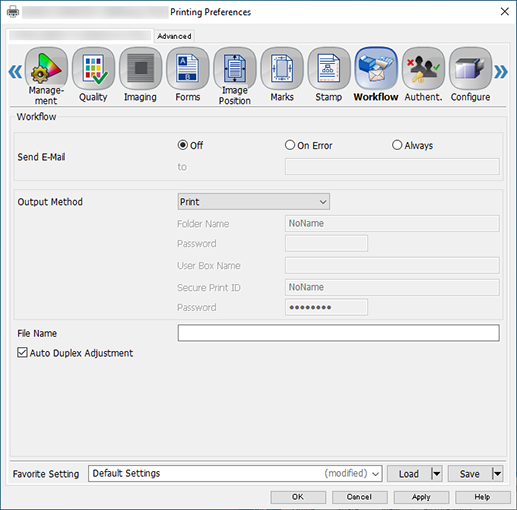
Setting items | [Auto Duplex Adjustment] | Select this check box to perform Auto Duplex Adjustment. This function prints crop marks on the first sheet of a job, and measures the front and back positions of the sheet using Intelligent Quality Optimizer IQ-501 to make adjustments. The measured adjustment values are held for each paper tray, and applied to jobs printed from the same paper tray. | ||
Remarks | - | |||
Reference | - | |||
Screen access | PS Plug-in Driver - [Workflow] | |||
Procedure


The selected sheet is printed with crop marks.
Set 1-sided printing or 2-sided printing so that the setting is the same as the actually printed job.


Adjustment is completed.
Set 1-sided printing or 2-sided printing so that the setting is the same as step 2.


 in the upper-right of a page, it turns into
  and is registered as a bookmark.